Most people don’t realize it, but when you uninstall apps on Mac, they almost always leave behind what is commonly referred to as “leftovers”. These leftovers are files that were required by the app or program to function when it was installed, but now it’s been removed, they are merely taking up valuable storage space on your Mac. Over time, as you use your Mac and install and uninstall various apps, these leftovers can really begin to pile up — eventually significantly slowing down your Mac.
Fortunately, there are several ways that you can remove these leftovers during the uninstallation process, and in this article, we will show you three of them. They vary slightly in complexity, but if you’re looking for the absolute easiest way possible, you’ll want to skip to number 2!
1. Uninstall programs using Finder
This method is one that most people are completely comfortable using, but with a slight twist.
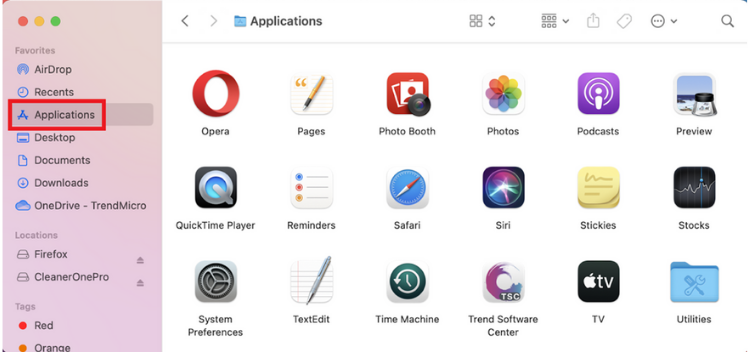
1. Open Finder and select Applications.
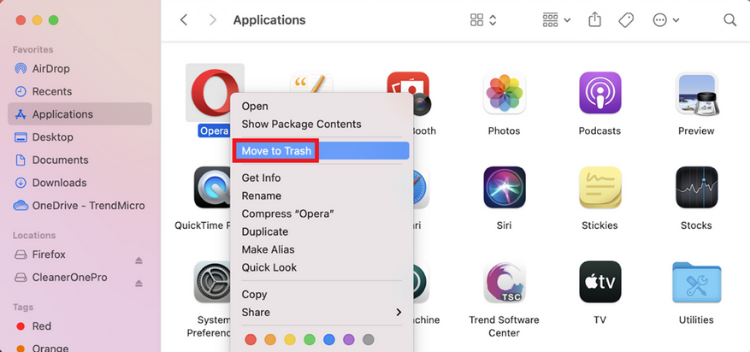
2. Locate the app you want to delete and right-click on it. Select Move to Trash.
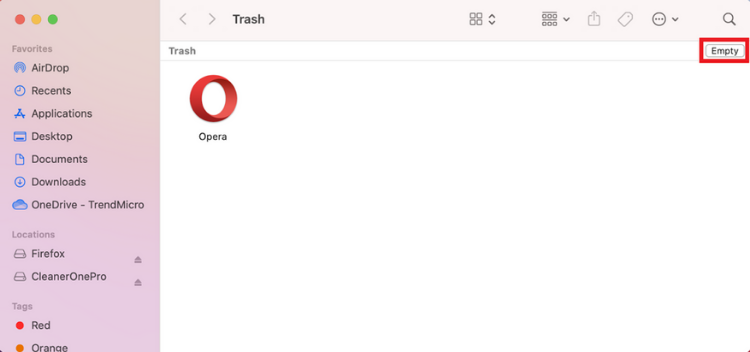
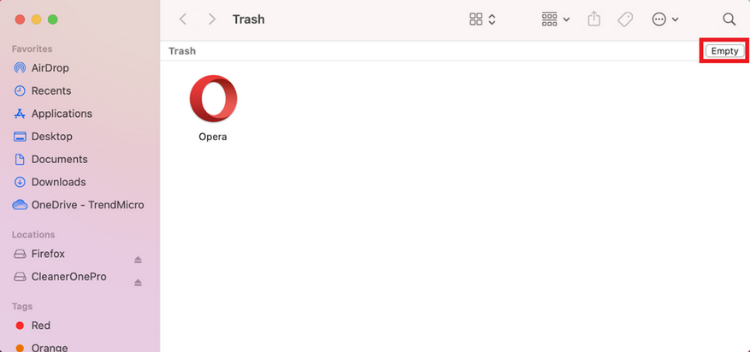
3. Open Trash by clicking on its icon on the Dock. Select Empty.
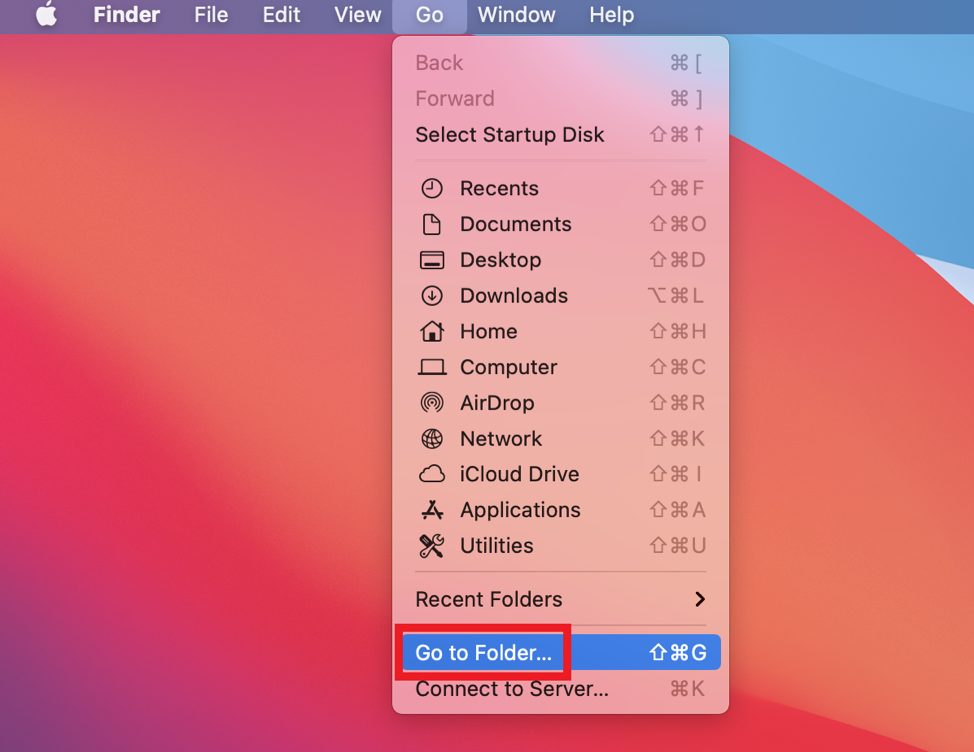
4. Now here’s how to delete the leftovers. In Finder, select Go > Go to Folder.
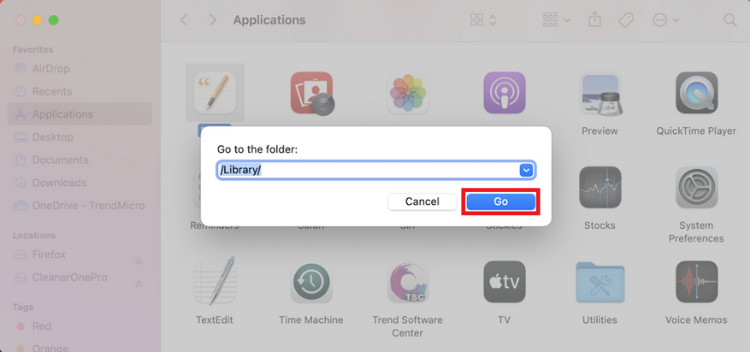
5. Type “/Library/” in the search box and select Go.
6. Type the removed app’s name into the search box. Right-click on any of its associated files and select Move to Trash. After you’ve removed all the leftover files, empty the Trash folder once again.
2. Automatically remove apps using Cleaner One Pro (the easy way!)
One of the great features of Cleaner One Pro is its ability to completely remove apps, including any leftovers, with the click of a button. It really couldn’t be any easier!
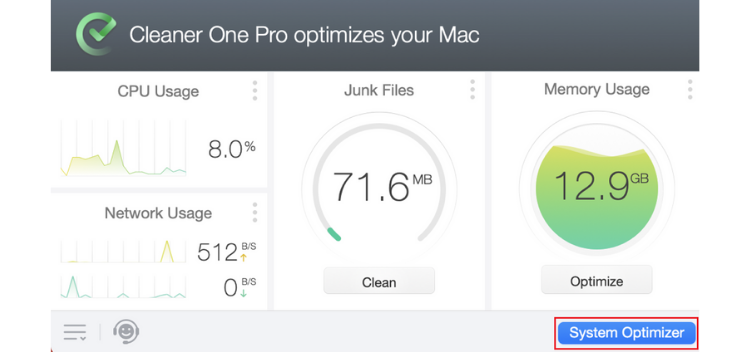
1. Open Cleaner One Pro and select System Optimizer.
2. Select App Manager > Scan.
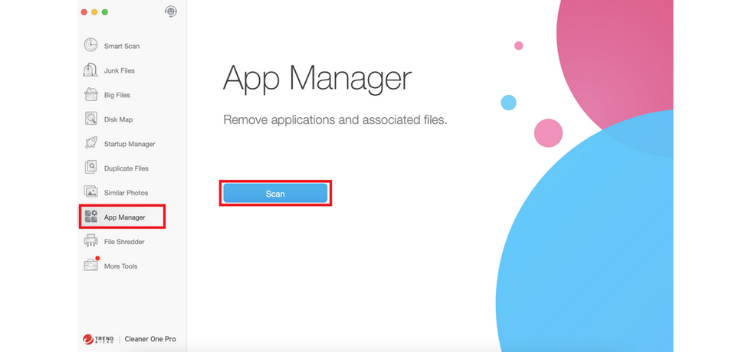
3. Hit the checkbox to the left of the app you wish to completely remove. Verify that all the checkboxes next to the app’s associated files are selected and click on Remove.
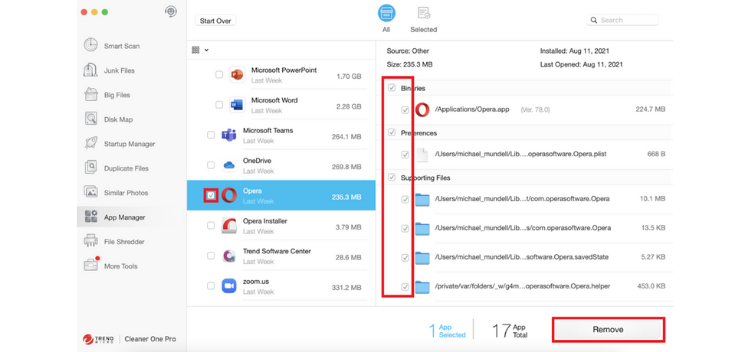
Compared to the other options that are available for completely removing apps (like the two mentioned in this article), there is no more straightforward method than using Cleaner One Pro. To read more about Cleaner One Pro and all its other excellent features, click here.
3. Delete apps using Terminal
For most people, this method will be overly technical and come with too much risk, but it does work.
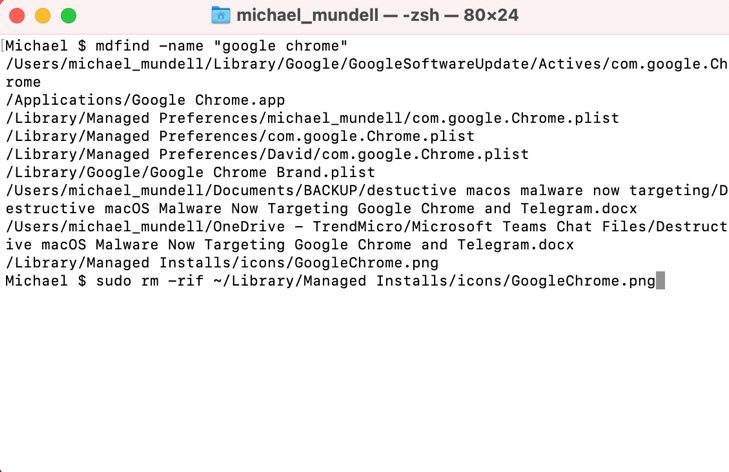
1. Open Terminal and type mdfind -name “application name” and press Enter. For example, if you wanted to remove Google Chrome, you would type mdfind -name “google chrome”.
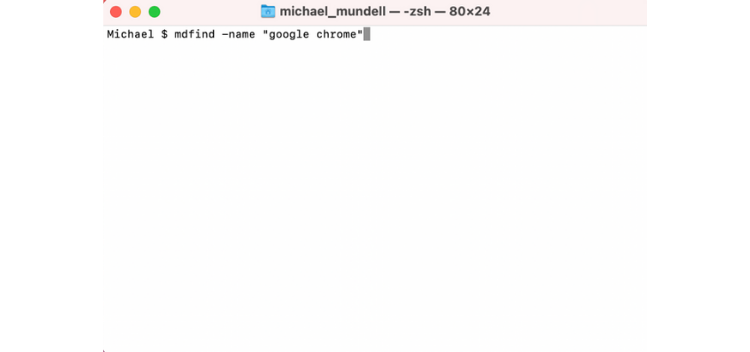
2. This will return all files associated with the name of the app, but it doesn’t mean you should delete them all. If you are using this method of uninstallation, you should have a pretty good idea of what you’re looking for, but in general, you should be searching for .app files, .plist files, settings and preferences, caches, and other accessory files.
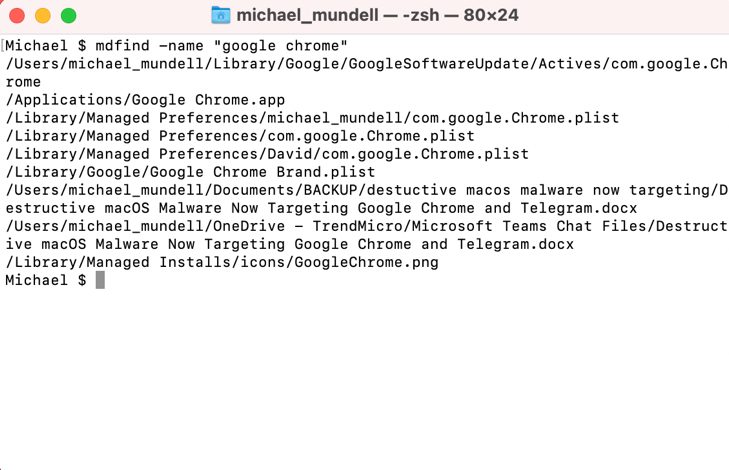
3. Once you have located the files you wish to remove, you can do so using the rm command by typing “sudo rm -rif ~” + the directory and file name. For example, “sudo rm -rif ~/Library/Managed Installs/icons/GoogleChrome.png”. Please note, the rn command is irreversible, so please exercise caution.
Consistency is key
Whichever method you opt to use, you’ll be doing your Mac a big favor in the long run. By removing all the associated files every time you remove an app, your Mac isn’t going to eventually get bogged down by them. Trust us, after your Mac is still running super quick in years to come, you’ll be glad you took our advice!
