
If you’re the computer geek among your family and friends, you’ve probably heard these (or similar cries), ringing in your ears at any time of day:
- “Honey, it’s mom. My email keeps crashing! Can you come over and fix it? Think of it as my Mother’s Day present!”
- “I’m getting an error message when I try to print—and I need to print this report by tomorrow!”
- “My computer has gotten really slow. Is there anything you can do to speed it up?”
- “You told me I should use a different password for each online account—but then I couldn’t keep track of them all. So I put them in a notebook—and now I can’t find it! What should I do?”
- “I think I might have a virus. I’m getting a weird message saying something about a firewall violation.”
Rather than rush across town to fix these and other problems (assuming I even live near enough to do so), I use TeamViewer remote access software, so I can manage the ailing computers remotely. (TeamViewer is free for personal use; if you’re a business user, you must pay for it.)
Once connected, I can do pretty much anything I need to do. I can fix the email crashes, update a printer driver, install DirectPass so the users can manage their passwords, the machine for better performance, and even launch Titanium (aka Maximum Security) to scan and check the computer for spyware and viruses.
In this 3-part series, I’ll show you how it works.
Install TeamViewer
- On the “base” computer you’ll use to access the remote computer, go to the TeamViewer website at www.teamviewer.com. The TeamViewer website appears.
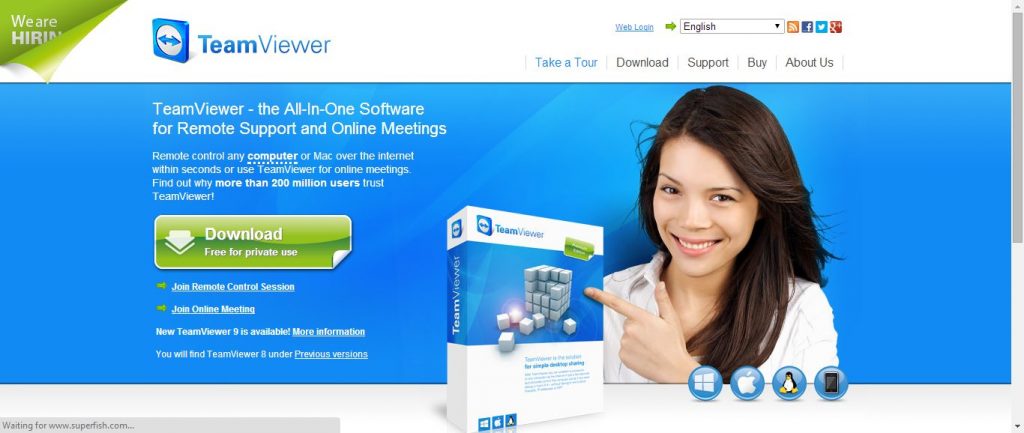
- If you’re using Windows, click the Download button to download TeamViewer. Otherwise, go to the download page for Mac, Linux, and Mobile downloads.
- When the download dialog appears, save a copy of the TeamViewer installer to your desktop.
- Once TeamViewer has finished downloading, double-click the TeamViewer installer to begin the installation. The setup dialog appears.
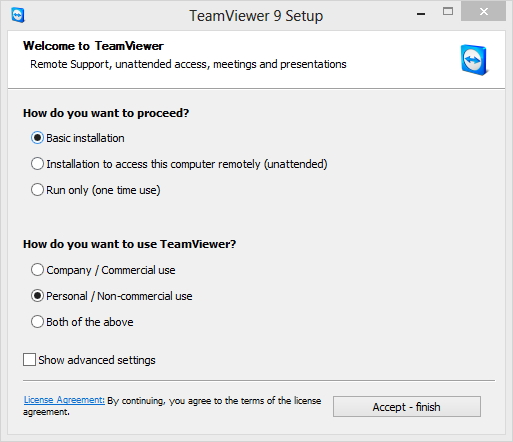
- Choose Basic installation and Personal / Non-commercial use. Note that you can also choose Installation to access the computer remotely (unattended), but I suggest you activate this feature later, once you get to know TeamViewer and have had time to address any security concerns. I’ll show you how to do this in Part 3 of this series.
- Click Accept – finish. TeamViewer installs and a shortcut appears on your desktop.
- Repeat the above process on the remote computer—or have your friend or family member do the same.
Access the Remote Computer
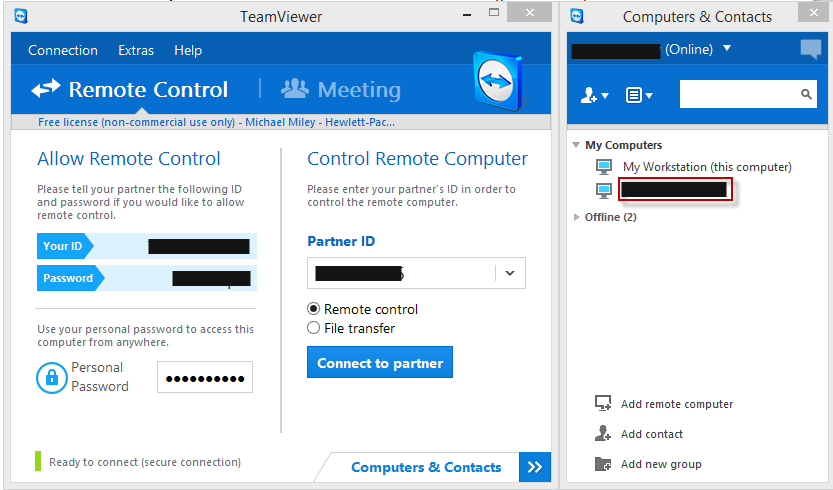
- Once TeamViewer is installed, double-click the TeamViewer shortcut on both computers. The Remote Control Console appears on both systems.
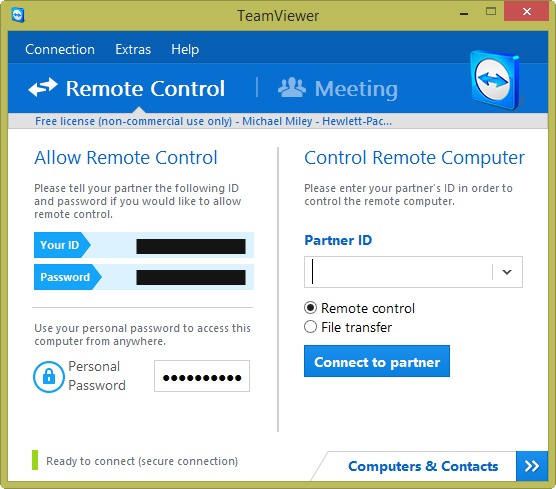
- In the Control Remote Computer panel, enter the Partner ID that’s displayed on the remote computer into in the Partner ID field on the base computer and click Connect to Partner. A TeamViewer Authentication dialog appears.

- Enter your partner’s randomly-generated password into the dialog and click Log On. The remote computer desktop appears, with a TeamViewer Menu at the top and the TeamViewer Session Dialog displayed in the lower right hand corner.

You now have full access to the remote computer and can begin your troubleshooting or maintenance tasks! I’ll provide some sample tasks in Part 2 of this series.
- For now, click the arrowed tabs in the TeamViewer Menu and Session Dialog to minimize them; or click the Close box in the upper right corner of the Session Dialog when you want to end the remote session.
- The first time you close a session for this remote computer a wizard appears so you can give this ID a name, attach it to a TeamViewer account, provide a personal password, and add it to your Computers & Contacts list.
- In Step 1 of 2, you’re prompted first to create a free TeamViewer Account.
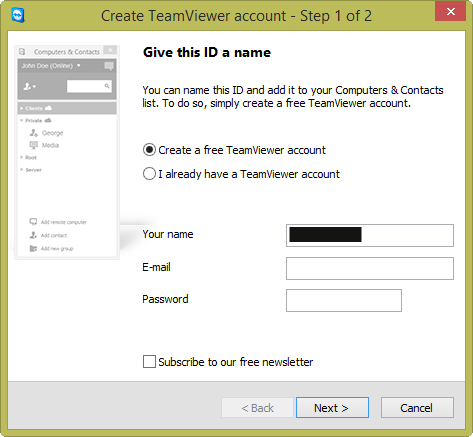
- Ensure Create a free TeamViewer account is selected, then enter your name, email address, and password and click Next. In Step 2 of 2, your account is created and you’re prompted to give the ID of the remote computer a name.
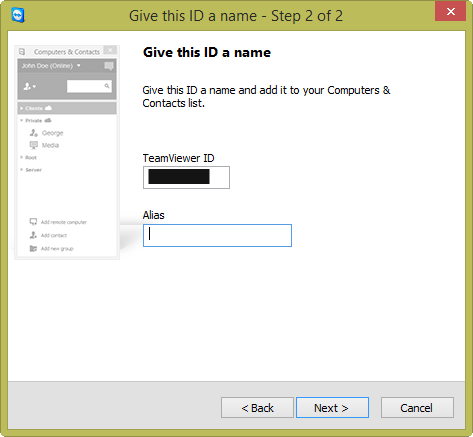
- Accept the default name, or below the TeamViewer ID enter a friendlier name in the Alias field (e.g., Mom’s computer), and click Next. The wizard completion screen appears.
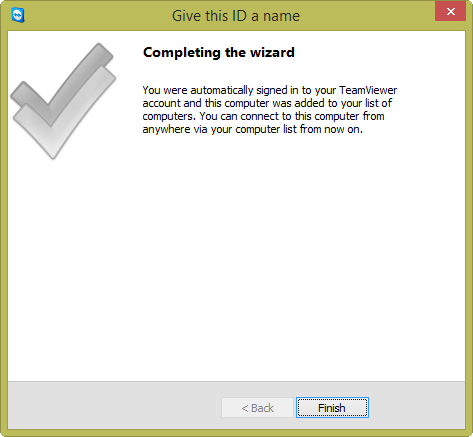
- Click Finish. You now have a TeamViewer account and a name for the partner computer in your Computers & Contacts list. When you’re logged into your account, you can use this Partner ID or Alias in the future to access the remote computer.
Enhance security of your connection
We suggest you use Trend Micro Home Network Security (HNS) to protect your remote connection- HNS is a simple plug-and-protect home network device to protect your smart home and connected devices from being hacked, while keeping the internet safe for your kids on any device. Click on the button below to get HNS to maintain and monitor your home network now:
In Part 2 of Remote Help for Family and Friends, I’ll connect to the remote computer to actually do some maintenance tasks.
In Part 3 of Remote Help for Family and Friends, I’ll show you how to set up unattended access and provide some security tips.
0 Comments
You Might Also Be Interested In...