
Last Updated on May 4, 2023
IP Configuration Failure on Android?
Run into the annoying “Failed to obtain IP address” on Android error? Looking to know what it means and how to fix it? Keep on reading!
“Failed to obtain IP address” Explained
The “Failed to obtain IP address” error can appear any time you connect to a Wi-Fi network. The error means that the router that controls the Wi-Fi network cannot get an IP address from your Android device — which it needs to know for the two devices to be able to communicate with each other. The issue will prevent you from accessing the internet over the network, as well as connecting to other devices, such as printers or streaming devices that are also using the network.
Regarding what causes a “Failed to obtain IP address” error, it can be many things, but it is most often caused by an issue with the router. Less often, it will occur due to an issue with the Android device itself (either software or hardware).
How to Fix “Failed to obtain IP address” Android Error
Follow the steps below to resolve this annoying error message.
#1 — Restart your device
It might sound simple, but turning your device off and on again can be pretty effective at resolving many different software-related issues (which this may or may not be), so it’s worth a shot.
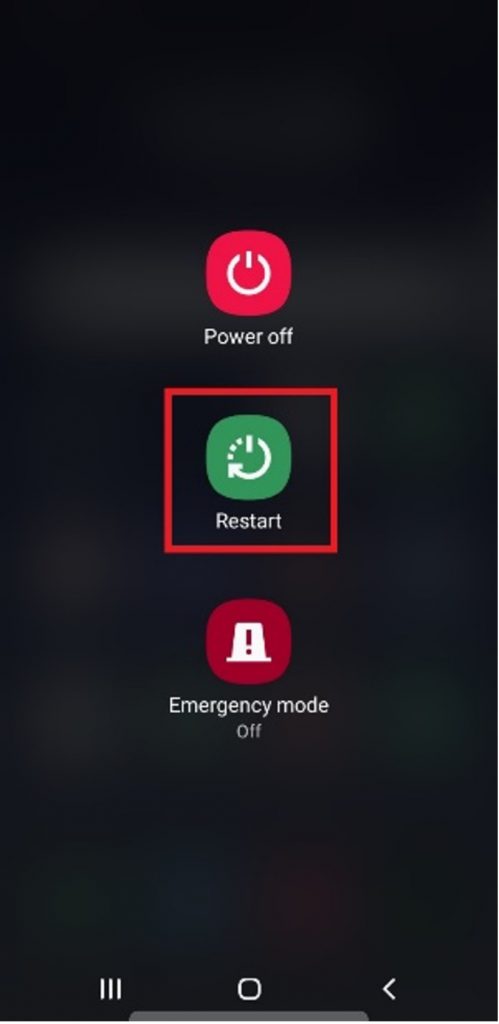
To restart your Android device, hold down the power button for a few seconds, then tap Restart.
#2 — Reconnect to the Wi-Fi network
Although this error message is typically caused by a router issue, it doesn’t hurt to quickly try another potential fix on your Android device. Before doing so, make sure you’re within range of the router.
Depending on which version of Android you have, instructions for how to perform this step will be slightly different, but you can access Wi-Fi connections easily using the Settings app. You will want to disconnect from the network and then reconnect to it — reentering a password if required.
#3 — Restart the router
When you run into network issues, they can often be resolved by simply restarting your router — which means nothing more than just turning it off and on again. To do so, unplug it and wait 60 seconds before plugging it back in. It can take a few minutes for it to power back up, so don’t be alarmed if its lights seem to flash erratically.
#4 — Change your router’s network encryption
WPA and AES encryption types may not work with certain Android devices. If this is what is causing you to have the “Failed to obtain IP address” error message, you can try changing your router’s network encryption type to hopefully resolve it.
To do so, you will need to access your router’s web interface — which can be done using a web browser. Most routers have an IP address of either 192.168.1.1 or 192.168.0.1 (although yours may be different), which can be entered into a web browser’s search bar to access the router’s web interface. Within the interface, look for a setting called “Encryption Type”, “Encryption Method” or something similar. Change it to one of the options that weren’t already selected to see if it fixes the issue.
#5 — Use a static IP on the network
Once again, depending on which version of Android your device has, exact instructions will differ. However, it can typically be done from within the Settings menu by tapping on the network you’re currently connected to (the network with the error message in this case), going into the advanced settings, and changing the “IP settings” option from DHCP to Static.
After doing so, you will need to enter a new IP address. Static IP addresses on home and other private networks should be selected from within these ranges:
- 10.0.0.0 through 10.255.255.255
- 172.16.0.0 through 172.31.255.255
- 192.168.0.0 through 192.168.255.255
After entering a new static IP address (192.168.0.128, for example), the Gateway field should automatically fill in. If it doesn’t, enter the same IP address with a 1 instead of the last number (192.168.0.1, for example). Tap Save when done.
#6 — Disable MAC filtering
When MAC filtering is enabled, only devices with whitelisted MAC addresses can connect to a network. If your device isn’t on the whitelist, you won’t be able to connect. Disabling MAC filtering will resolve this issue.
You can turn off MAC filtering in your router’s web interface (see step 4). Look for the “Disable/Enable MAC Filtering” (or similarly named) setting to do so.
#7 — Turn Flight mode on and off
Enabling Flight mode will stop your device from being able to connect to all types of networks (cellular, Bluetooth, and Wi-Fi), so turning it on and then off will allow your device to restart important connection settings — hopefully resolving this error message issue in the process.
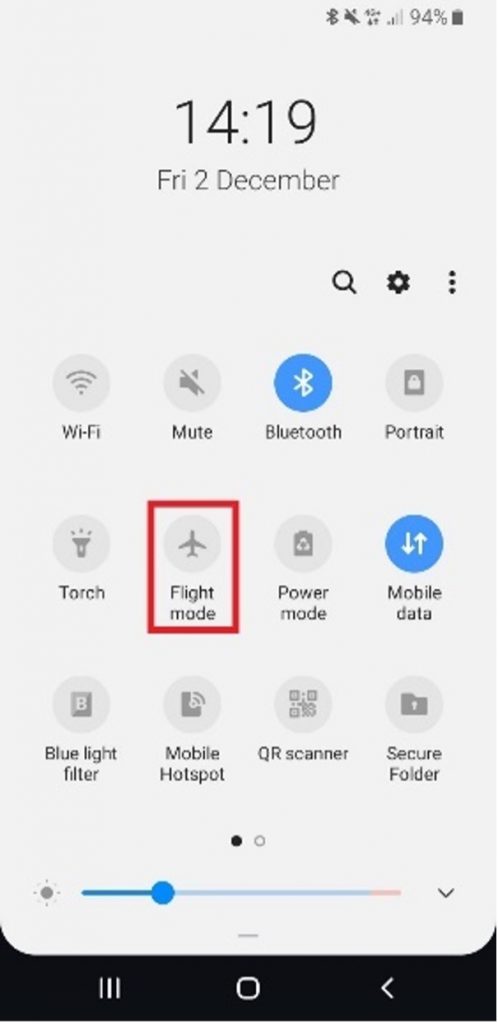
To enable Flight mode, swipe down from the top of the screen, then tap Flight mode. Wait 30 seconds, then tap it again to disable it.
#8 — Clear Google Play services cache
Certain Google Play services that run in the background have been known to cause network issues from time to time. Although it’s not clear why this is the case, clearing the Google Play services cache often seems to resolve them.
Exact instructions for how to do so will differ depending on which version of Android your device is running, but it can be done in the Apps section of the Settings menu.
Enhance Your Online Security
When connecting to Wi-Fi networks — both your home network and those when you’re out and about — for the best security and privacy protection, you’ll want to use a VPN. For people looking for a VPN that’s easy to use and straightforward, Trend Micro VPN fits the bill perfectly. Its Wi-Fi Protection feature can turn any public hotspot into a secure Wi-Fi network and its bank-grade encryption helps keep your data safe from hackers.
To learn more about Trend Micro VPN and claim your 7-day free trial, click the button below.