Last Updated on August 2, 2023
Are you a Mac user who has been asked “how to take screenshots on Mac?” on your device? It could be an error that pops up or a task you’re currently working on, perhaps a visual reference you want to save for a later date. Below we will provide you with the different approaches for taking a screenshot on a Mac.
How to Take Screenshots on Mac
Approach 1: Whole Screen Capture (Command-Shift-3)
If you wish to take an actual snippet of what you are currently seeing on your screen, then this is the method to follow. This can include the Menu Bar, the actual window, or the Desktop that you have on the screen. This is if you want to take an image of things “as is”.
Approach 2: Selective Screen Capture (Command-Shift-4)
If you only want to take a screenshot of a specific area on your screen, then this second method is for you. By pressing the 3 keys all at once, it will give you the chance to select where to take an image capture. You just need to use your trackpad or mouse to highlight and select the area. In addition, you can combine the approach with the options below for more adjustments.
- Holding down the shift key: After highlighting an area but before releasing the trackpad, you can adjust the height of the area and still maintain the width because it locks the side of the selected area.
- Press and hold on the spacebar: After highlighting an area but before releasing the trackpad, it will allow you to maintain the size of the screenshot, but it will also allow you to adjust the position of where to take the screen capture.
- Press and release the spacebar: The crosshair icon will change into a camera icon and will now allow you to change from one open window to another and pick the one you want to have a snippet of.
Approach 3: Customized Screen Capture (Command-Shift-5)
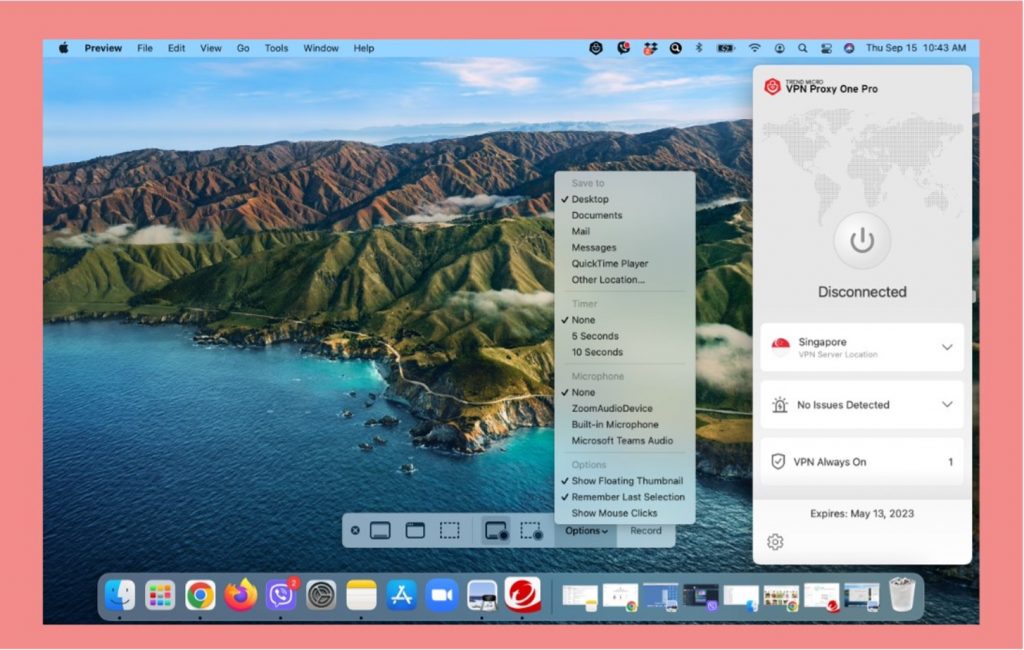
This shortcut was made available with Mac OS Mojave. This method will give you more options for taking a screenshot. A small window will appear at the bottom part of your screen, providing you with icons for picking Capture Whole Screen, Capture Selected Window or Capture Selected Portion. It will also give you the opportunity to not just take a picture of your screen, but to select if you want to Record Entire screen or Record Selected Portion.
Clear Up Disk Space with Cleaner One Pro
Need more diskspace to store your screenshots? Cleaner One Pro is here to help — for FREE!
Cleaner One Pro is Trend Micro’s all-in-one disk cleaning app. With it, you can visualize, manage, and free up your storage space all in just one click! It’s got lots of other great features that you’re sure to love, too. If your computer isn’t running as fast as it was when it was new, you’ll want to give Cleaner One Pro a try — and why not when you can download it for free by clicking the button below?