At WWDC 2022, Apple unveiled macOS 13 (AKA macOS Ventura), which has several new features such as Stage Manager, Continuity Camera, updated System Settings, as well as changes to Safari, Mail, and Messages. Want to see what’s new in the latest Mac update? This article will show you how to get the early beta version of macOS Ventura.
It’s worth noting that only the developer beta has been released thus far. The public beta will be available in July, and the software will be released in the fall. You can download the developer beta on your Mac if you don’t want to wait though. Because this is a development beta, there may be some minor issues. Performance issues and bugs are common with early builds, and sources claim that some early testers have already discovered issues with notifications and FaceTime.
First, you’ll want to check if your Mac is compatible with macOS 13 before you attempt to install it. Ventura will only be accessible to Macs released from 2017 onwards, which includes the following models:
- 2017 iMac and later
- 2017 iMac Pro and later
- 2018 MacBook Air and later
- 2017 MacBook Pro and later
- 2019 Mac Pro and later
- 2018 Mac mini and later
- 2017 MacBook and later
- 2022 Mac Studio
Upgrade to macOS Ventura
To begin with, make sure your MacBook has 12GB of free space. If your Mac doesn’t have enough storage space, you can try installing Cleaner One Pro to free up some space. And if you haven’t previously done so, you’ll need to sign up as an Apple Developer through the Apple Developer site on your iPhone first. It costs $99 per year. Following that, proceed as follows.
1. Make a fresh backup of your Mac in case you ever need to downgrade.
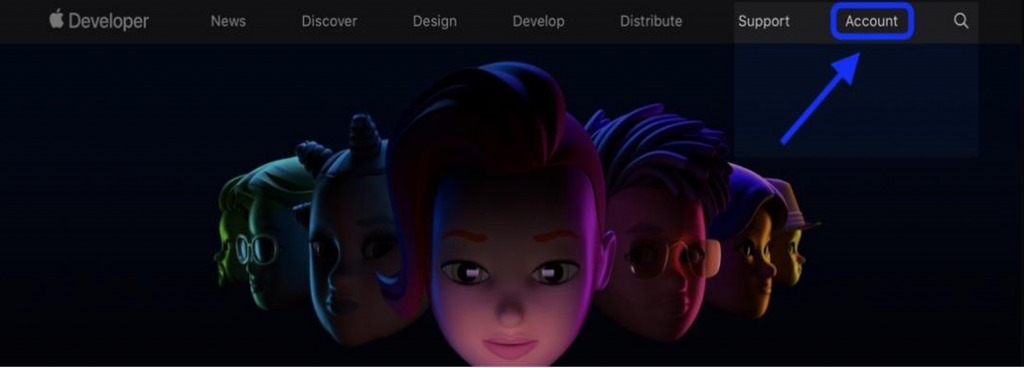
2. Go to Apple’s Developer website on your Mac.
3. If you haven’t already, go to Account in the top right corner and sign in.
4. Choose Downloads in the bottom-left. If you don’t see the Downloads option, click on the two-line icon in the top left corner.
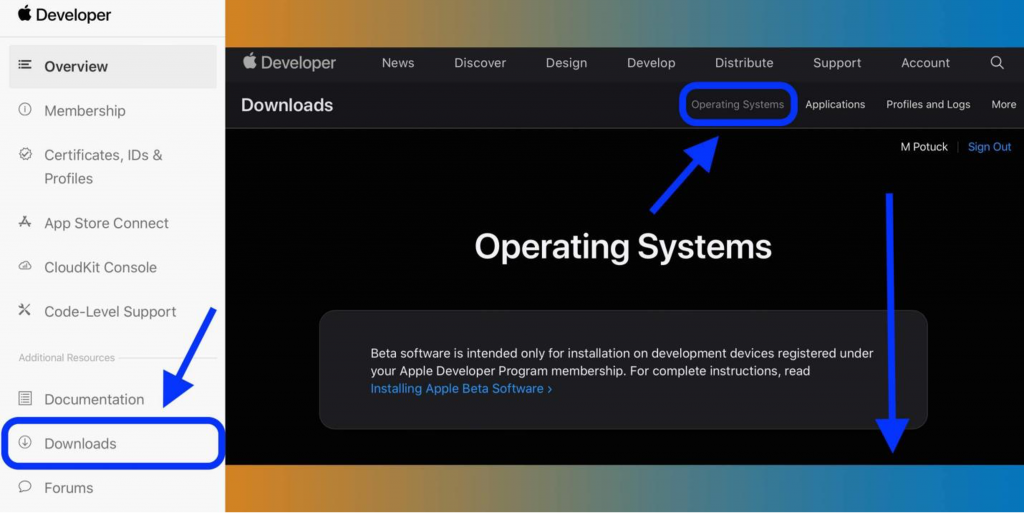
5. Ensure that the “Operating Systems” tab is selected in the top-right corner of the screen.
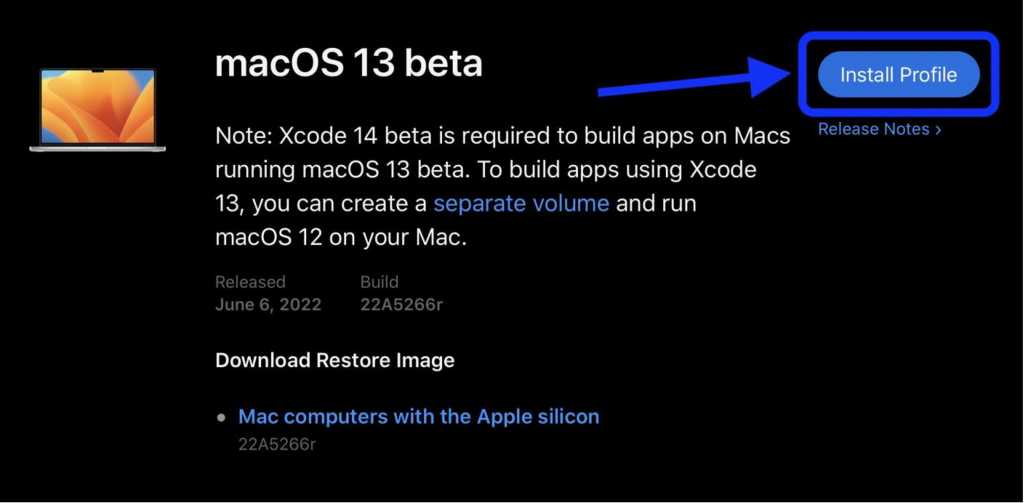
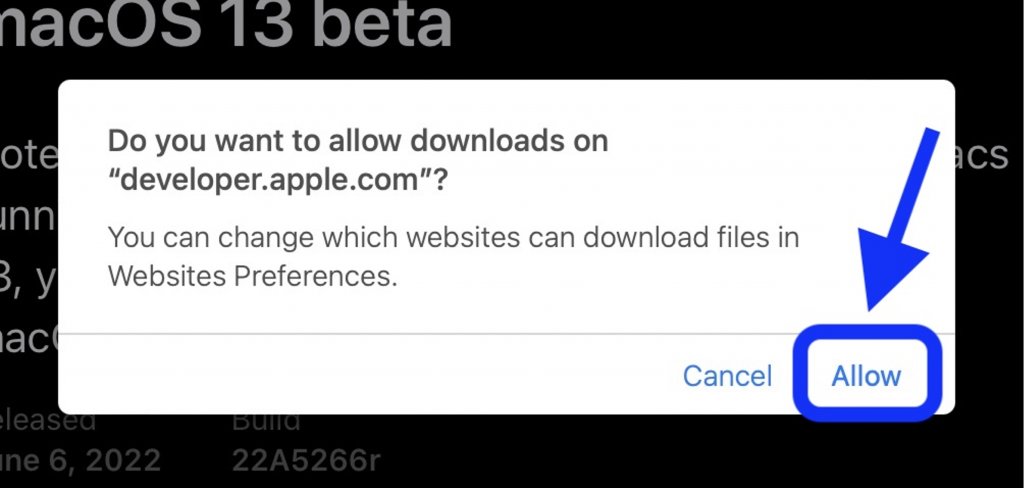
6. Scroll down and click Install Profilenext to the macOS 13 beta, then choose Allow.
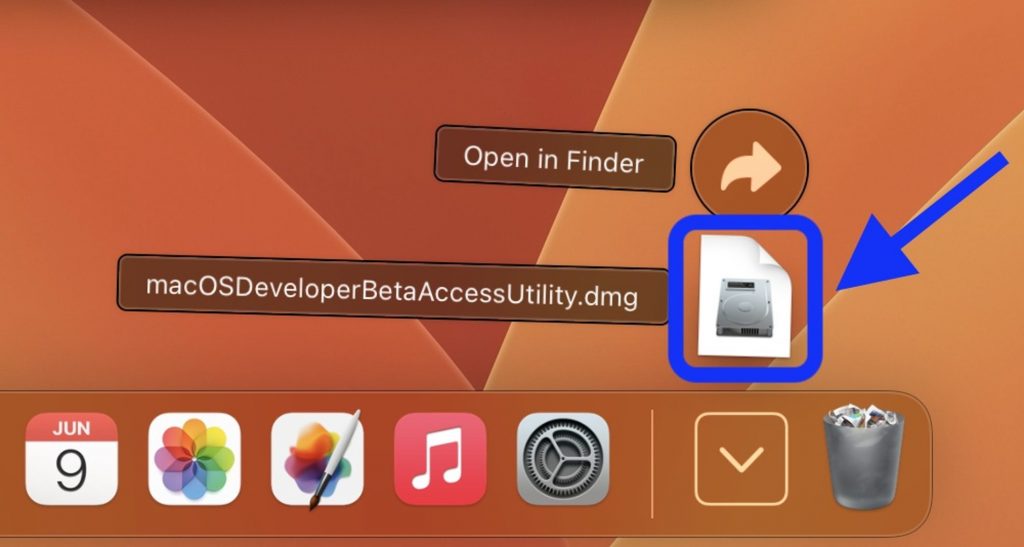
7. The macOS beta Access Utility will be found in your Downloads folder.
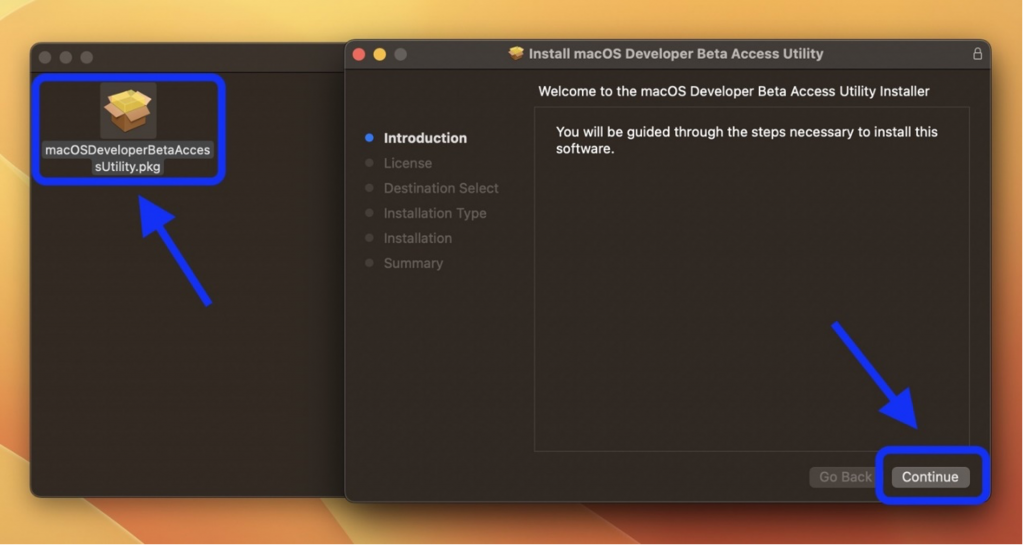
8. Click it to mount the utility disk image, then double-click the Access Utility. pkg to install the macOS beta profile.
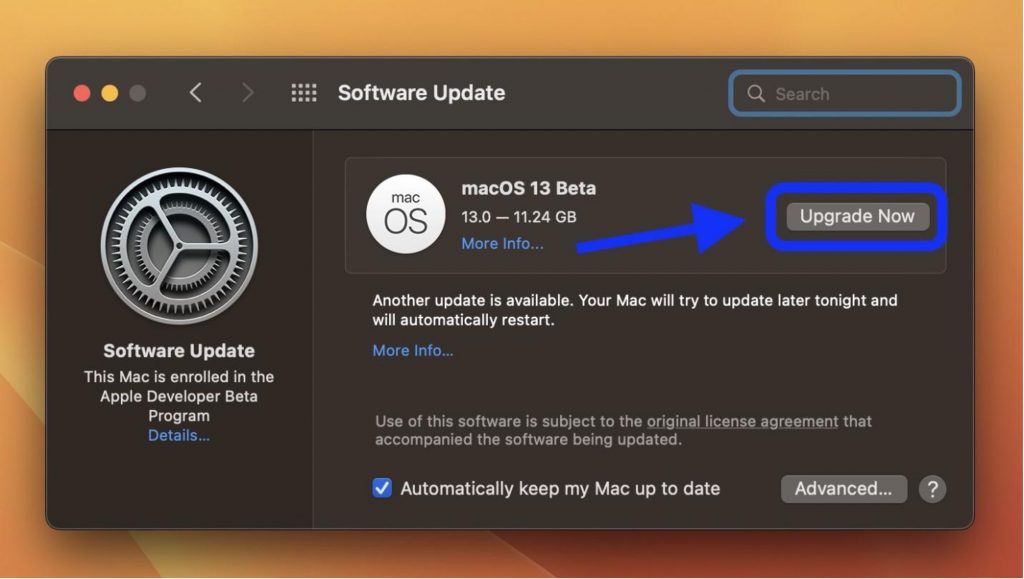
9. The macOS 13 beta should instantly display in the System Preferences > Software Update window, click Upgrade Now to download the update.
10. When the download is finished, follow the prompts to complete the beta installation.
0 Comments
Other Topics
You Might Also Be Interested In...