Last Updated on March 30, 2023
Apple’s HEIC file type for photos is gradually being accepted by developers because it is the iPhone and iPad standard for photos. Beginning with iOS 11, Apple changed the default photo file format for the iPhone and iPad so that photos are now saved as HEIC instead of JPG — this change offers superior compression while maintaining high image quality, enabling you to keep more images on your phone or tablet.
Nonetheless, people still need to convert HEIC to JPG from time to time in order to prevent incompatibilities. Luckily, that’s simple to do for Mac users.
What Are HEIC Images?
HEIC comes from the High-Efficiency Image File Format (HEIF), developed by the Moving Picture Experts Group (MPEG) as an improvement over the predominant JPG format. Their only drawback is the lack of support from widely used programs and operating systems. If using HEIC, you may discover that many programs won’t allow you to view or update the file, and many websites won’t accept it.
But fear not, HEIC files can be easily converted to JPGs on a Mac using the following three methods.

How to Convert HEIC to JPG with Preview
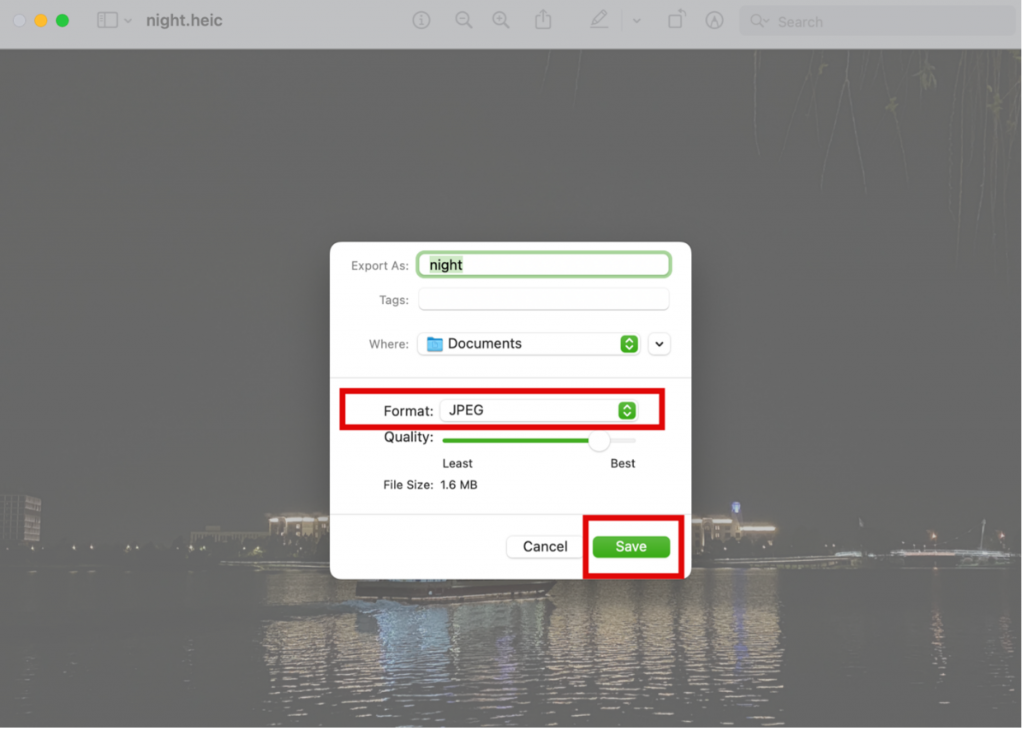
- Open a HEIC image in Preview.
- Click File > Export in the menu bar.

- Select JPEG in the Format dropdown and adjust other settings as needed.
- Choose Save.
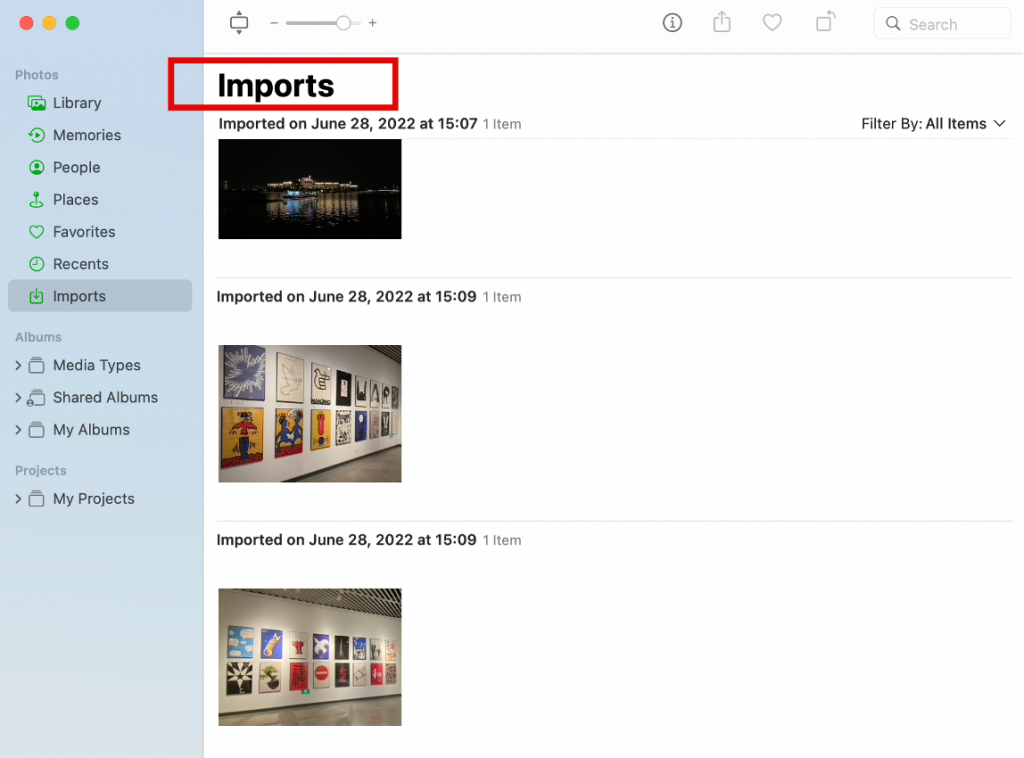
How to Convert HEIC to JPG with Photos
- Import HEIC images into Photos (or simply drag).
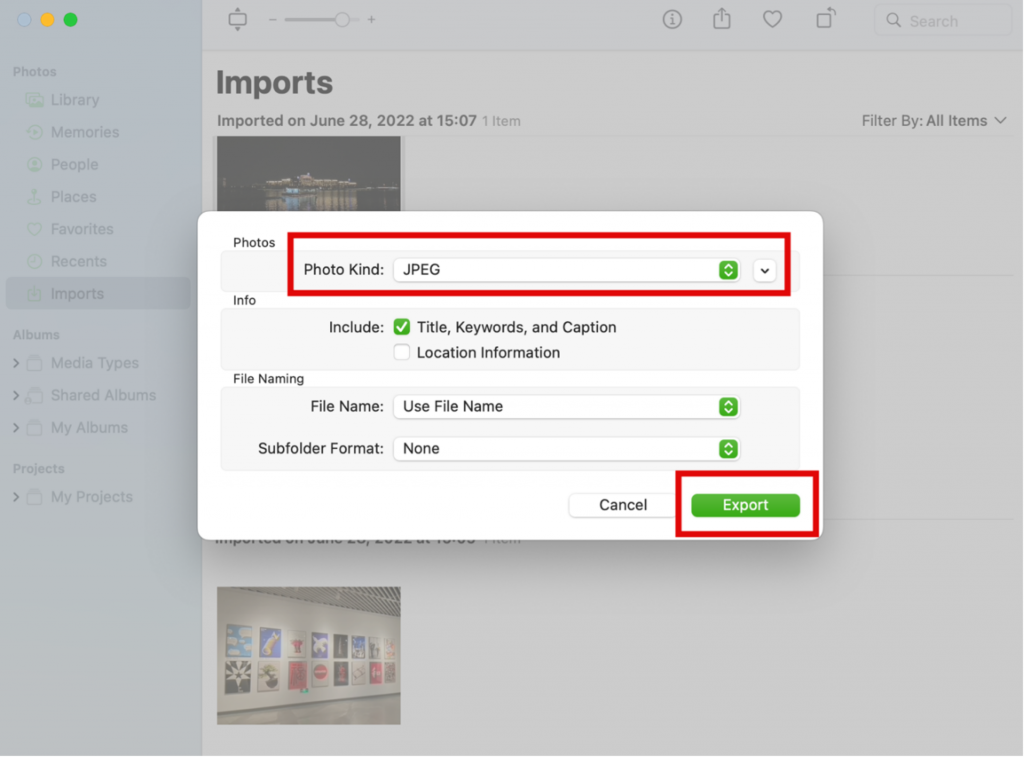
- Select the images, click File > Export, and choose Export X Photos (X being the number of photos).
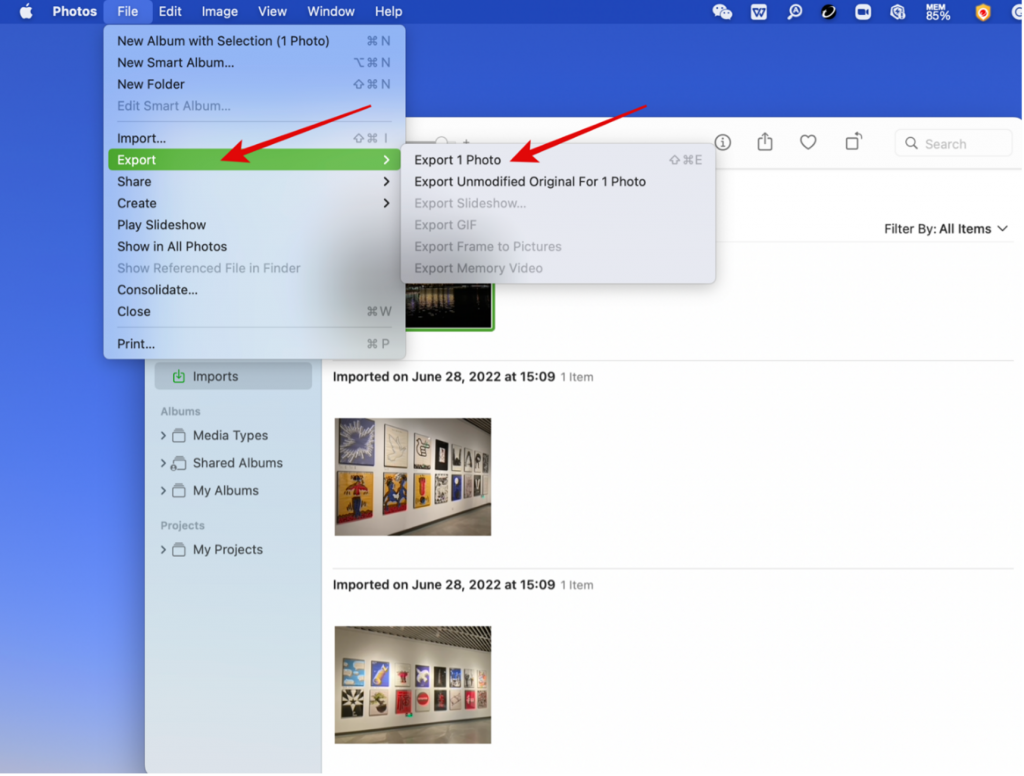
- Choose JPEG from the Photo Kind dropdown menu, then click Export.
How to Change HEIC to JPG on Mac with Automator
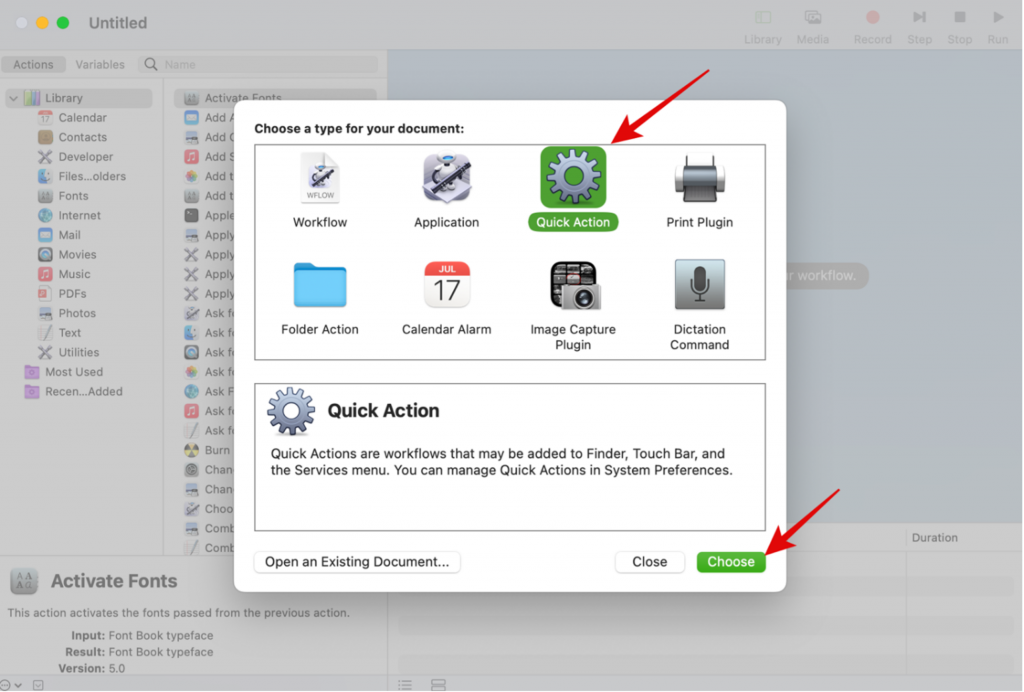
- Launch Automator on Mac — it’s in the Applications folder (or use Spotlight to search for it).
- Next, click Quick Action, followed by Choose.
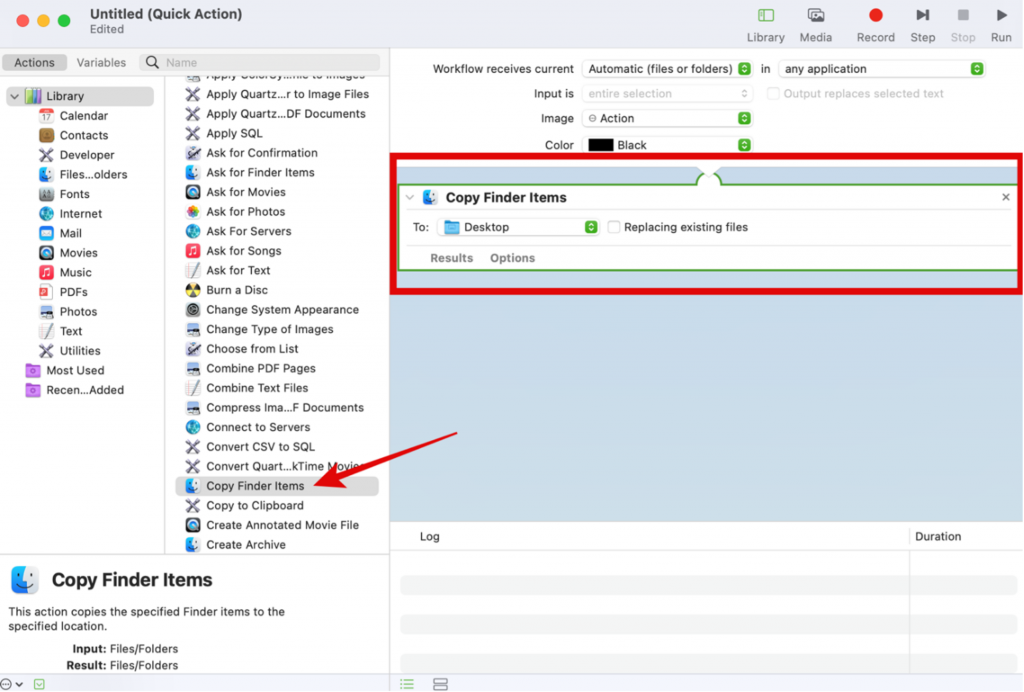
- Over on the left side of the screen, search Copy Finder Items and then drag it to the right-hand side of the screen.
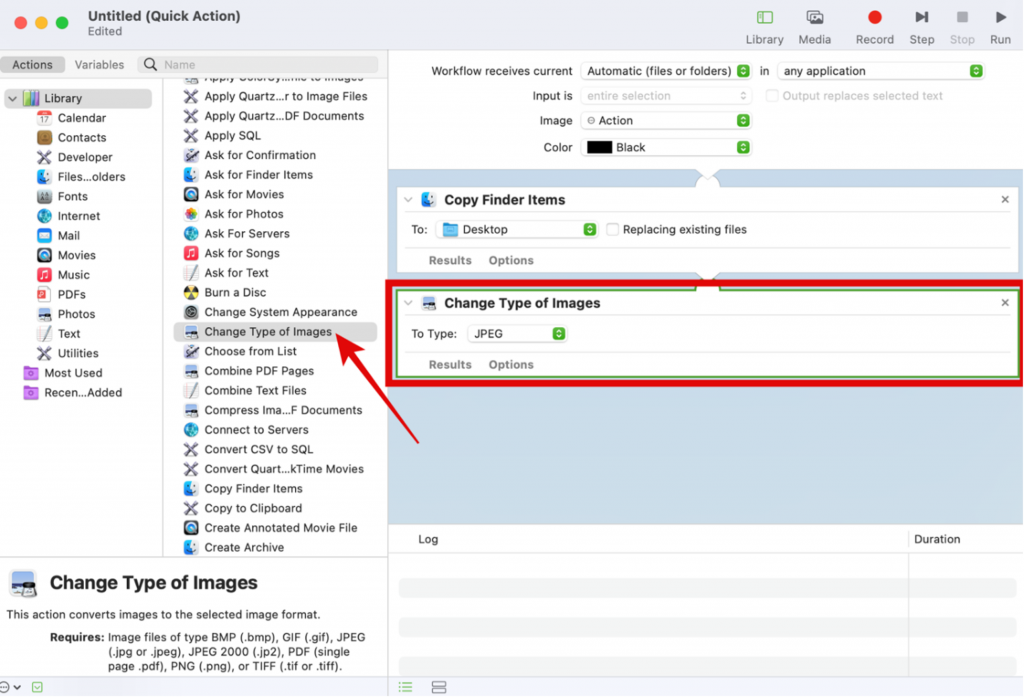
- Back on the left side of the screen, search Change Type of Images and then drag it to the right-hand side. There is a drop-down menu here: select JPEG.
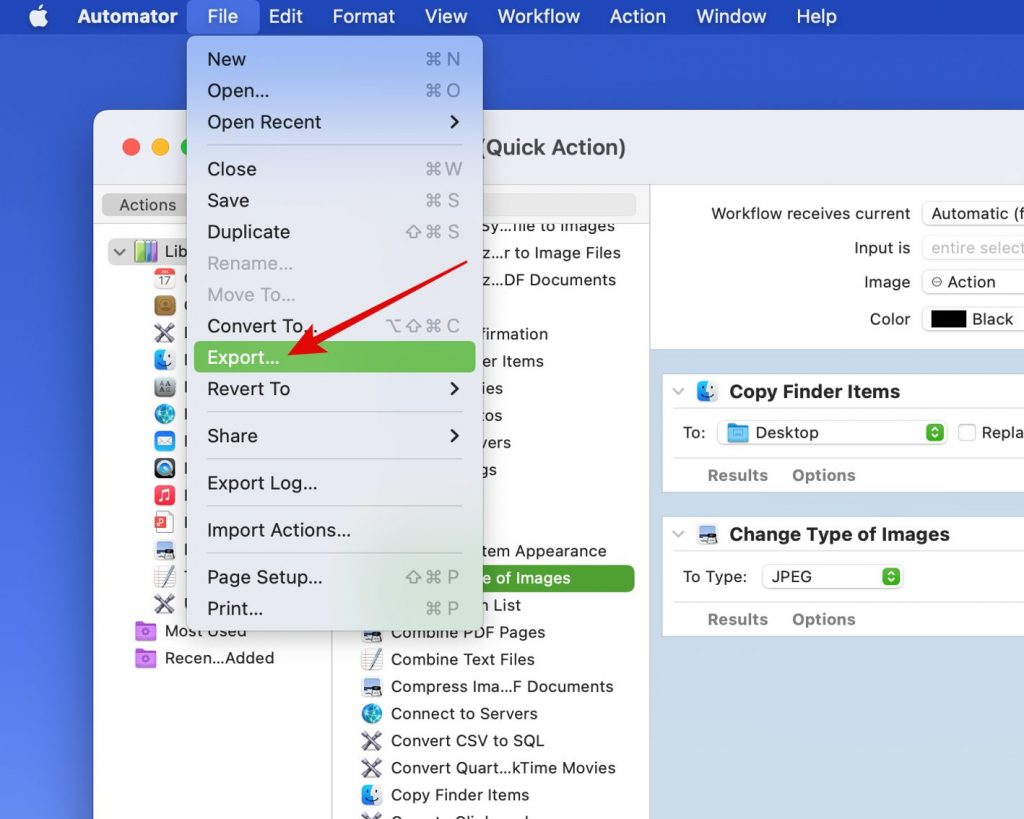
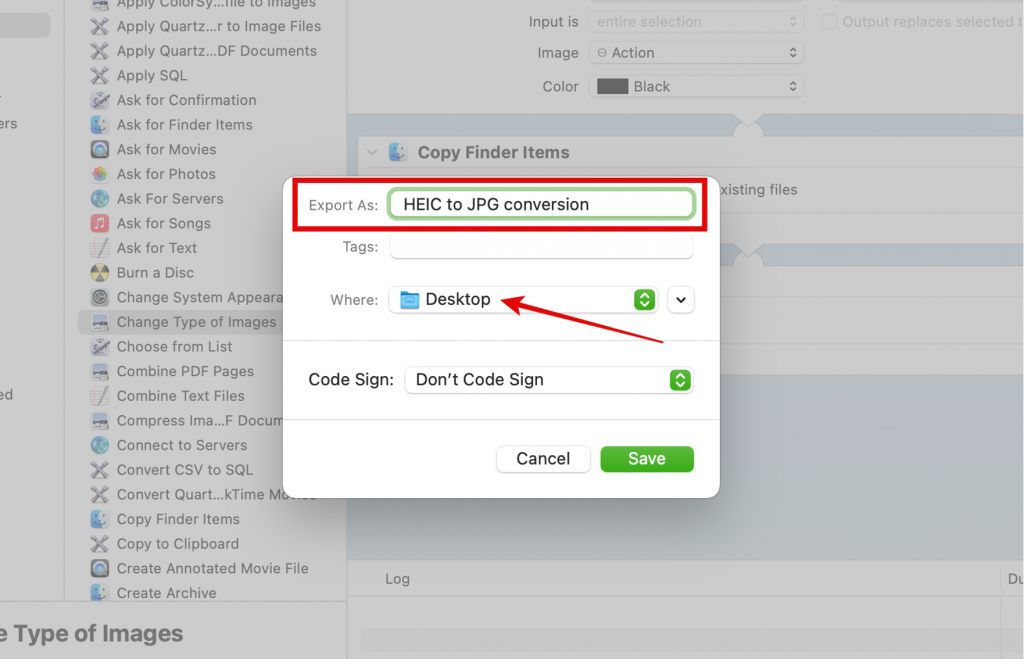
- Go to File > Export, give the script a name (such as “HEIC to JPG conversion”), and select saving position, then click Save.
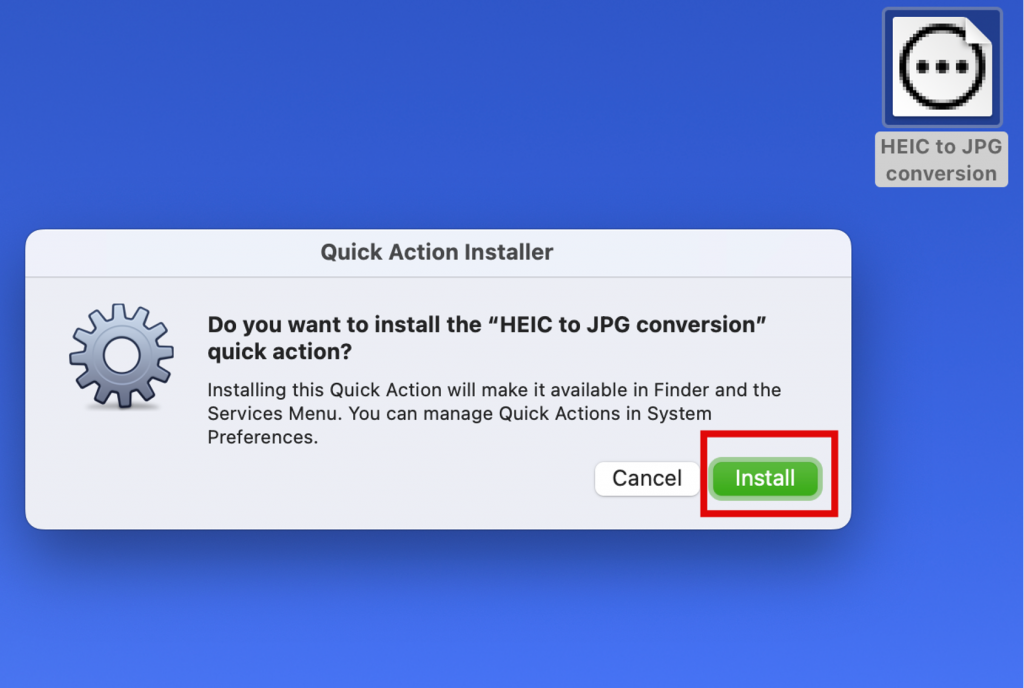
- Find the script and open it, click Install.
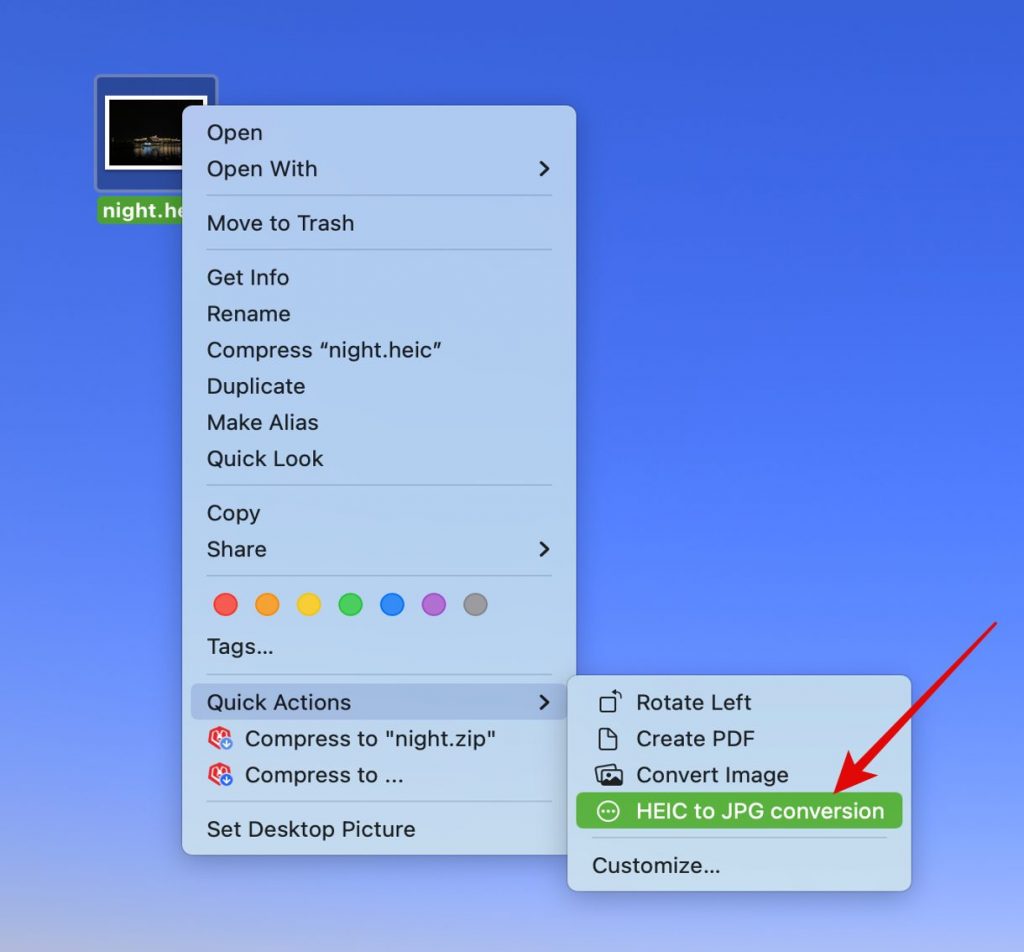
- Select HEIC images, right-click them, and choose Quick Actions. You can see HEIC conversion script listed (HEIC to JPG conversion).
- Select HEIC to JPG conversion, and it will automatically convert images using the stages you defined.
JPG takes up more storage than HEIC, so you can expect your storage space to decrease. With that in mind, we recommend de-cluttering before or after converting photos. Cleaner One Pro is the perfect tool for this job. Aside from the many cleaning tasks it will perform, it will also scan all folders on your Mac to find and clear duplicate and similar photo files.
0 Comments
Other Topics